TLDR;
YES, it is possible. And NO it's not hard at all.
My setup
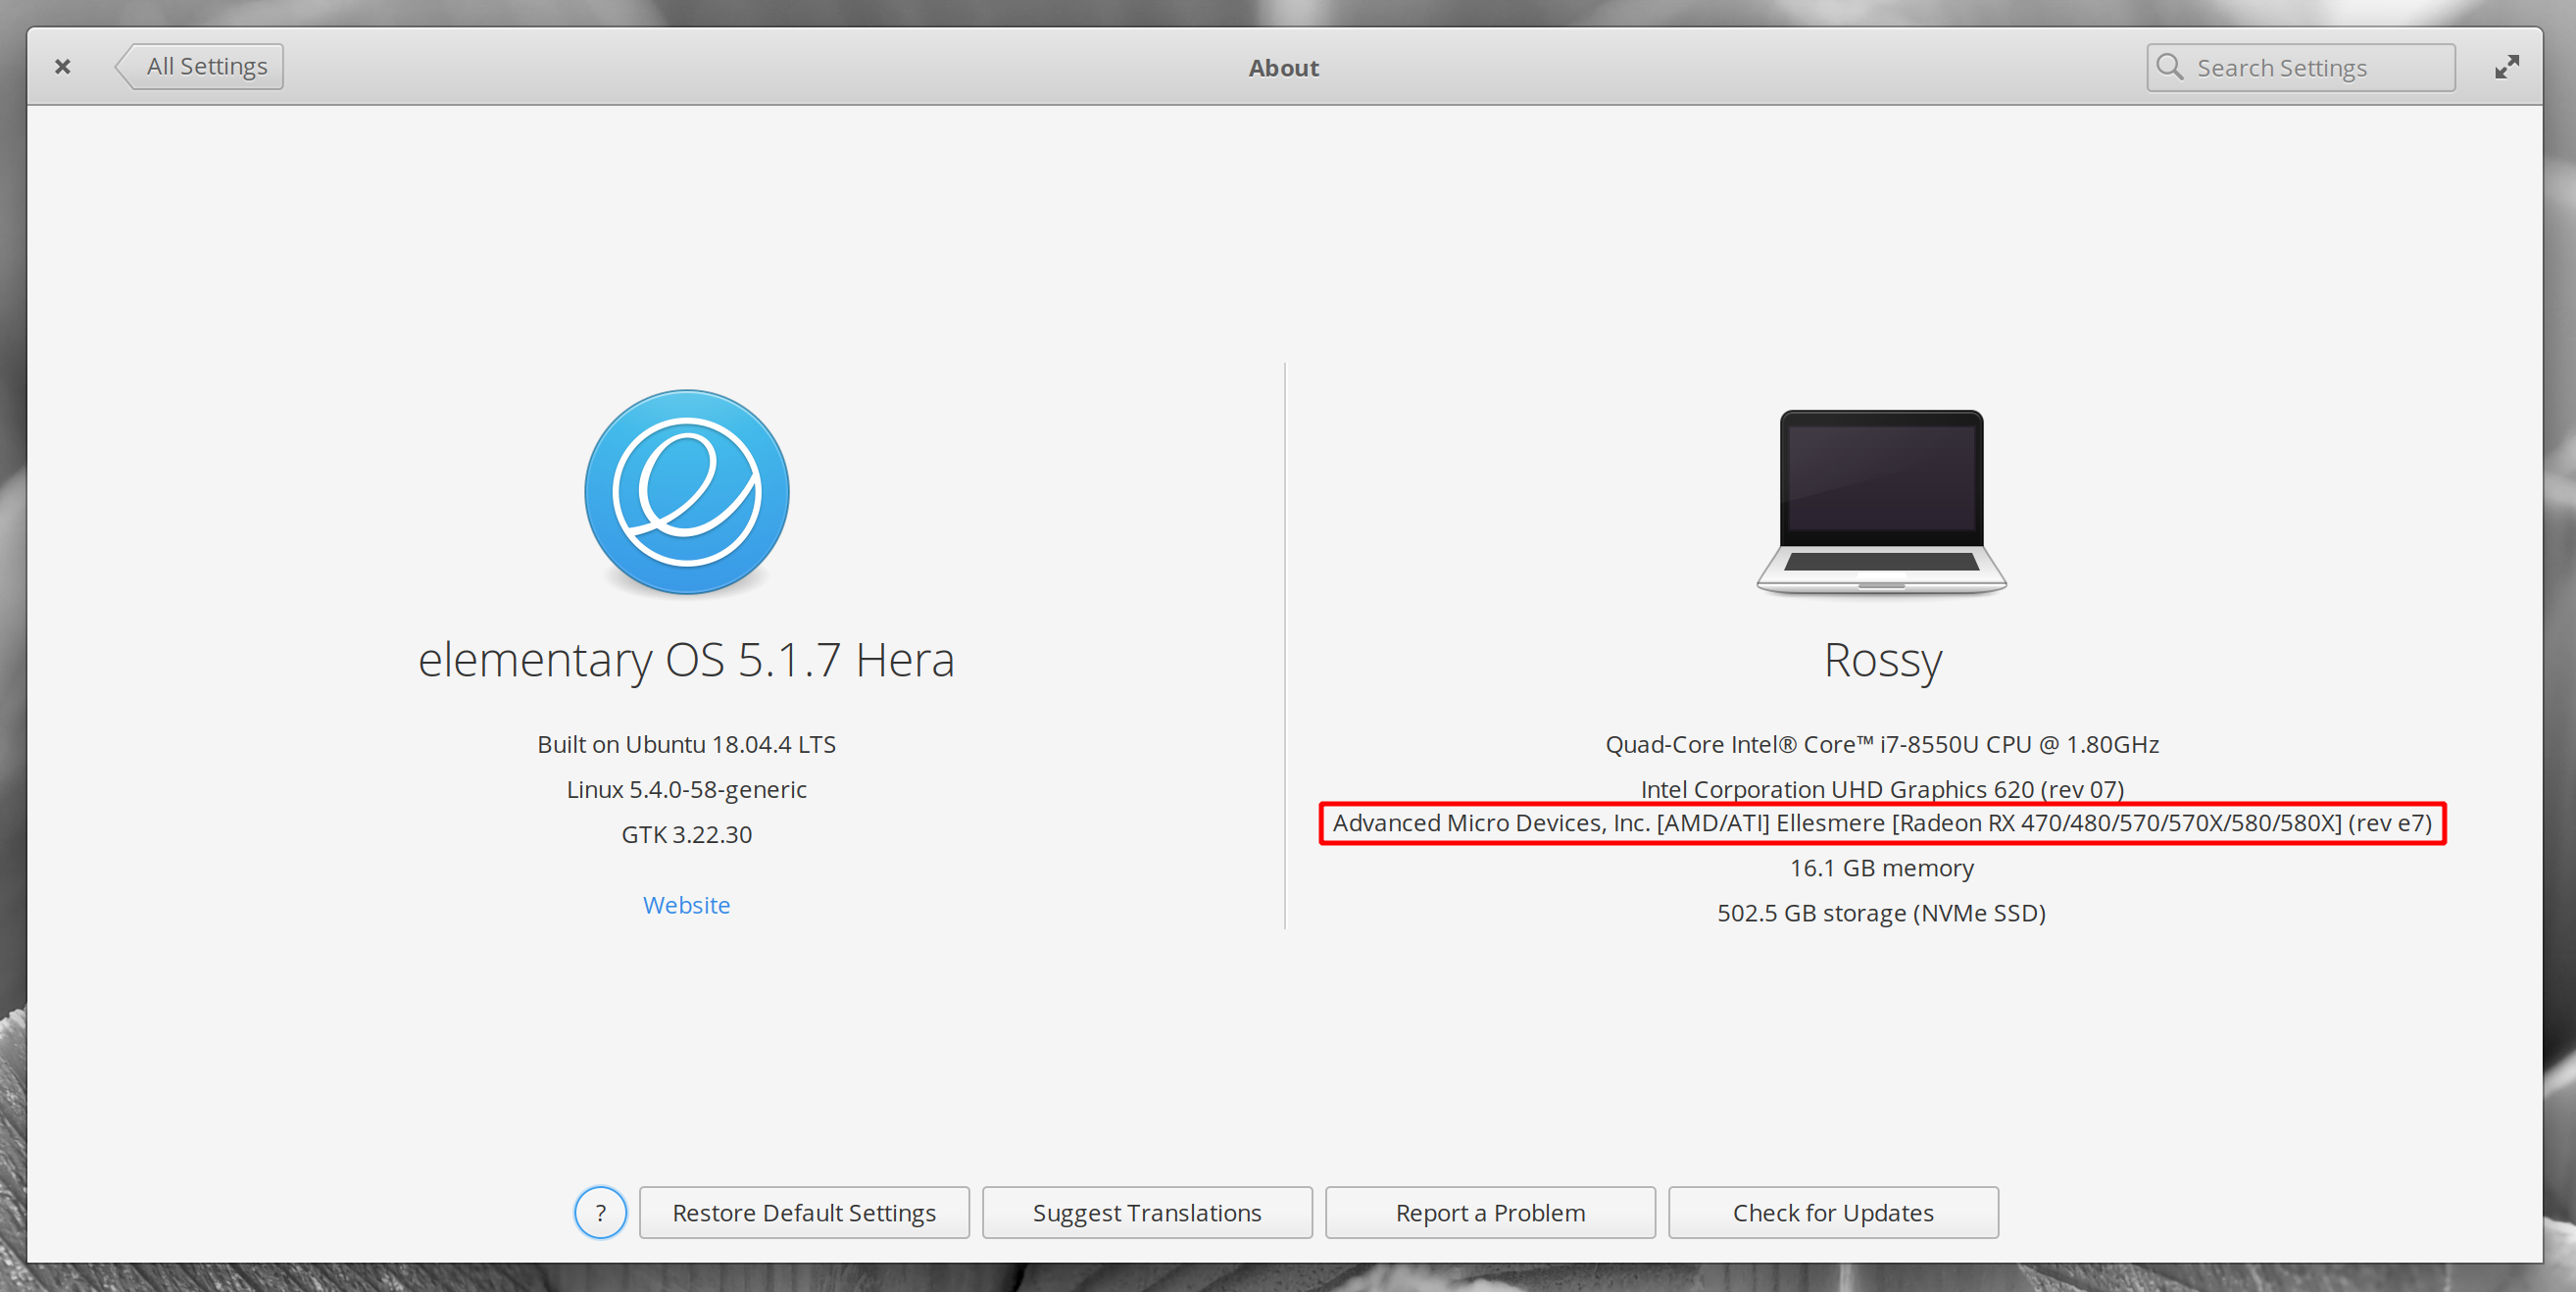
I'm using a DELL XPS 13 (9370), which has two Thunderbolt 3 ports. For the eGPU enclosure, I went with a Razer Core X, which is ranked as the best option on egpu.io. Finally, the card I'm using is the modest AMD RX 580. I chose AMD because it works out of the box, no additional drivers required.
A word about cables
Do yourself a favour and don't try to save on cables. You won't regret spending the extra buck. For the Thunderbolt cable, make sure you buy an active, 40 Gbps TB 3 cable. To connect the eGPU to the display, a 4K@60Hz Display Port cable is preferable if your monitor supports DP of course. My cables are 2 metres long, plenty to be able to keep the enclosure out of sight (it's huge).
Required software
First, you'll need bolt to authorize the Thunderbolt connection. It's is shipped by default with Ubuntu, but not with elementary OS:
$ sudo apt install bolt
Next, you'll also need some script to manage GPU switching. You can do this by hand, but it's easy to make mistakes. I found egpu-switcher easy to use. It's actively maintained and well supported.
To install it, you'll need to be able to add PPAs first, which is not enabled on elementary OS by default (thanks to @KGIII for pointing that out). Enabling PPAs can be done by running:
$ sudo apt install software-properties-common
Then you can go ahead and run:
$ sudo add-apt-repository ppa:hertg/egpu-switcher
$ sudo apt update
$ sudo apt install egpu-switcher
Setting up Thunderbolt
In your laptop's BIOS settings, enable pre-Boot ACL in the Thunderbolt settings. Also, make sure security is set to User. More details about why and how can be found in the troubleshooting section of the egpu-switcher library.
Next, connect your eGPU and boot up your laptop. Run boltctl list to get the UUID of the TB device and then authorize it by running sudo boltctl authorize [UUID].
Switching GPU's
Let the script generate the necessary files:
$ sudo egpu-switcher setup
Then to configure your available GPU's, run:
$ sudo egpu-switcher config
When prompted with Would you like to define a specific INTERNAL GPU? (not recommended), confirm with Y. I didn't do this initially and things didn't work. Only after explicitly configuring the internal and external GPU, it started working. This may be different for you though.
Now you should be good to go. Connect the monitor to the eGPU and make the switch:
$ sudo egpu-switcher switch egpu
Reboot your machine.
If you don't see anything on the external monitor, hit super + p a few times until your monitor lights up.
Things that don't work
- hot plugging is not possible, you'll always need to connect your eGPU and do a reboot
I'm using Blender and even with the latest Mesa drivers (20.3.1), OpenCL rendering with Cycles is not an option (I may try Nvidia with CUDA in the future) (look below to see how to make it work)
Overall experience
Setting it up was fairly simple. I have no experience whatsoever with eGPU's, and I was up and running in under an hour.
For me, this is a massive leap forward. I'm coming from the iGPU (Intel UHD 620) and it feels like I have a new computer. The speed is amazing.

UPDATE 24 Jan 2021
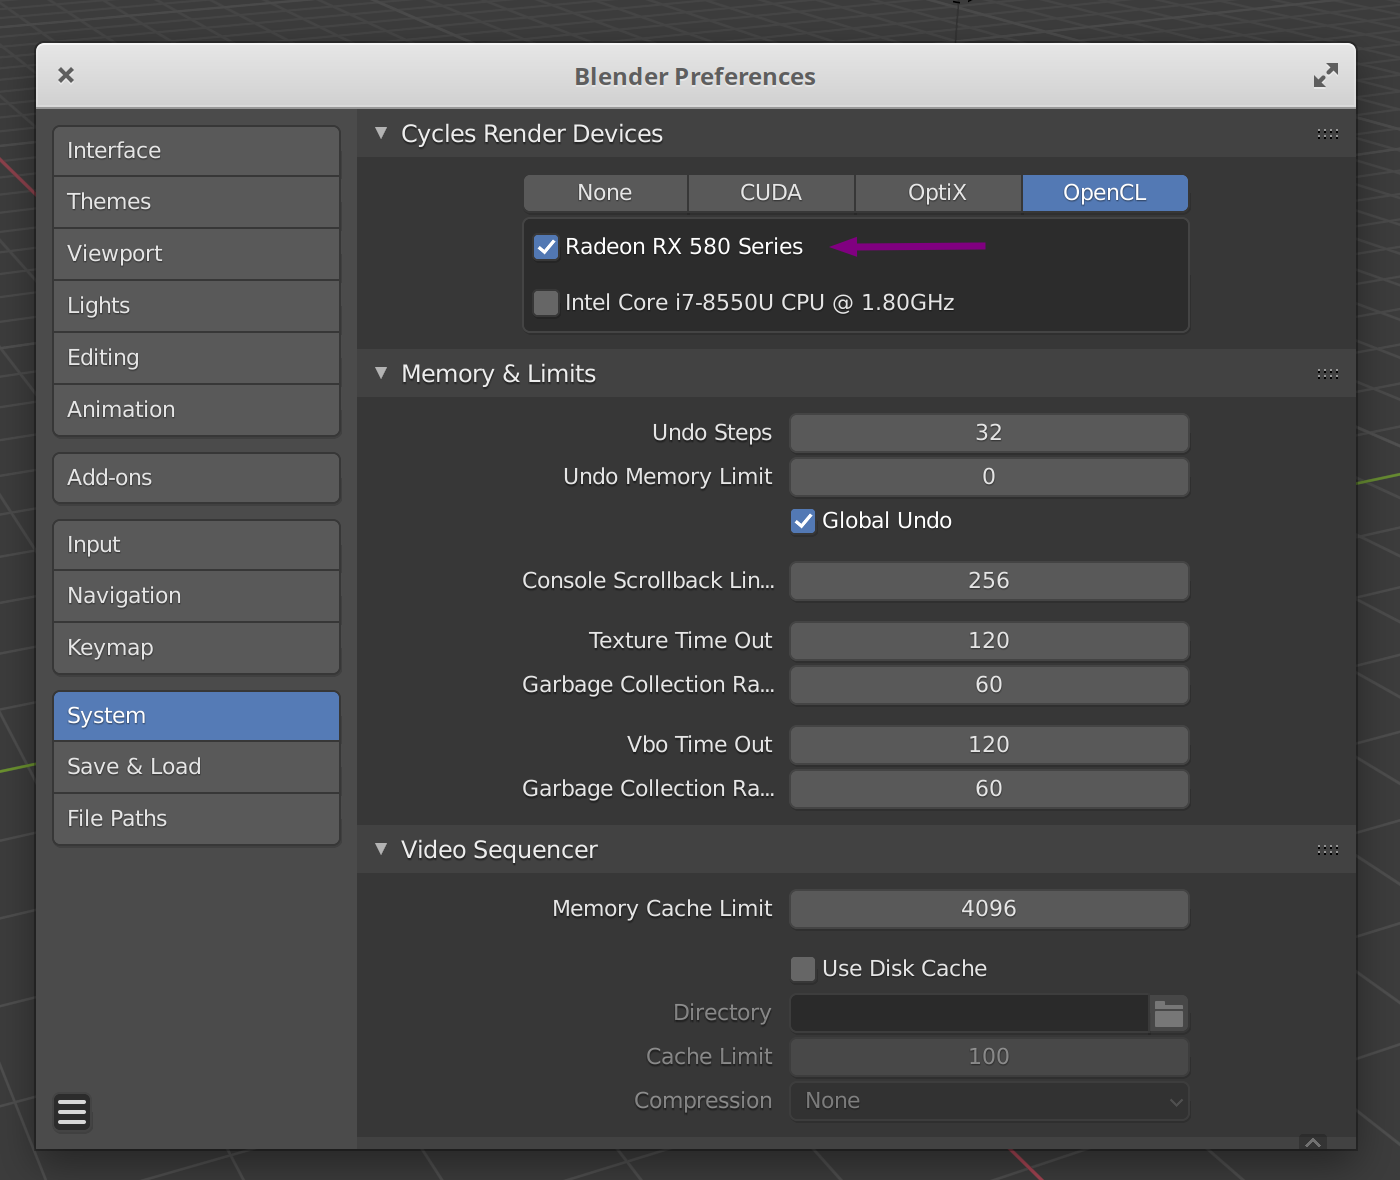
I managed to make Cycles GPU rendering work in Blender by installing the proprietary drivers from AMD. It takes some courage to install them, but it works flawlessly. Here is how I did it.
AMD only supports a few distros, and only specific versions at that. Luckily, Ubuntu 18.04 LTS is one of them, but it won't install on elementary OS Hera. A simple trick is to change the contents of the release file, but be careful here.
First, make a backup of the original file:
sudo cp /usr/lib/os-release /usr/lib/os-release-original
Replace the contents of /usr/lib/os-release with the following:
NAME="Ubuntu"
VERSION="18.04 LTS (Bionic Beaver)"
ID=ubuntu
ID_LIKE=debian
PRETTY_NAME="Ubuntu 18.04 LTS"
VERSION_ID="18.04"
HOME_URL="https://www.ubuntu.com/"
SUPPORT_URL="https://help.ubuntu.com/"
BUG_REPORT_URL="https://bugs.launchpad.net/ubuntu/"
PRIVACY_POLICY_URL="https://www.ubuntu.com/legal/terms-and-policies/privacy-policy"
VERSION_CODENAME=bionic
UBUNTU_CODENAME=bionic
And run the AMD installation script:
./amdgpu-install --opencl=legacy,pal --headless --no-dkms
When it's done, revert the contents of /usr/lib/os-release and do a reboot.
Now you can use GPU rendering in Blender:

To give you an idea about the speed boost of CPU vs GPU rendering, I rendered the default cube in a new document with default settings (128 samples) and these are the results:
- CPU: 26s (64 x 64 px tile size, 8 threads)
- GPU: 11s (1920 x 1080 px tile size)

